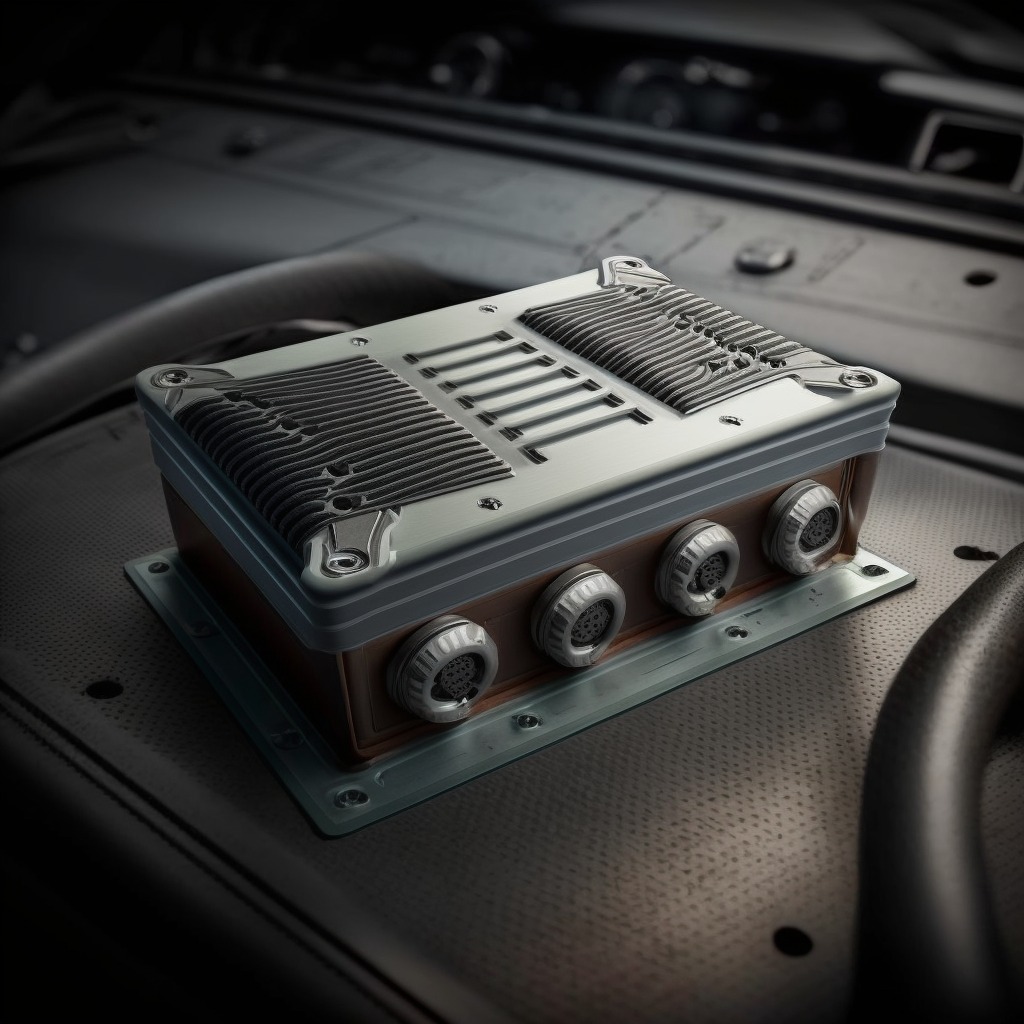
Mounting a car amplifier to the back seat can be a good option if you want to save space in your car and keep your amplifier out of sight. Here are the steps to follow to mount your car amp to the back seat:
- Choose the location: Before you start mounting your amplifier, you need to choose the location where you want to install it. Make sure the location is secure and easily accessible. Some good options include the back of the seat, the floor, or the trunk.
- Measure and mark: Measure the length and width of your amplifier and mark the location where you want to install it. Use a marker or a piece of tape to mark the exact location.
- Drill holes: Once you have marked the location, drill holes through the seat or the floorboard using a power drill. Make sure the holes are big enough to fit the screws or bolts that you will use to attach the amplifier.
- Install mounting brackets: Attach the mounting brackets to the amplifier using screws or bolts. Make sure the brackets are securely fastened to the amplifier.
- Secure the brackets: Once the brackets are attached to the amplifier, use screws or bolts to attach them to the seat or the floor. Make sure the brackets are securely fastened to the seat or the floor.
- Connect the wiring: After you have mounted the amplifier, connect the wiring to the amplifier. This includes connecting the power wire, ground wire, and remote wire.
- Test the amplifier: Once you have connected the wiring, test the amplifier to make sure it is working properly. Adjust the settings as necessary to get the sound you want.
- Cover the amplifier: Finally, cover the amplifier with a piece of cloth or a carpet remnant to protect it from damage.

Mounting a car amplifier to the back seat can be a simple process if you follow these steps. Make sure to choose a secure location, use the right tools and hardware, and test the amplifier to ensure it is working properly. With a little patience and attention to detail, you can have your car amplifier securely mounted and out of sight.

