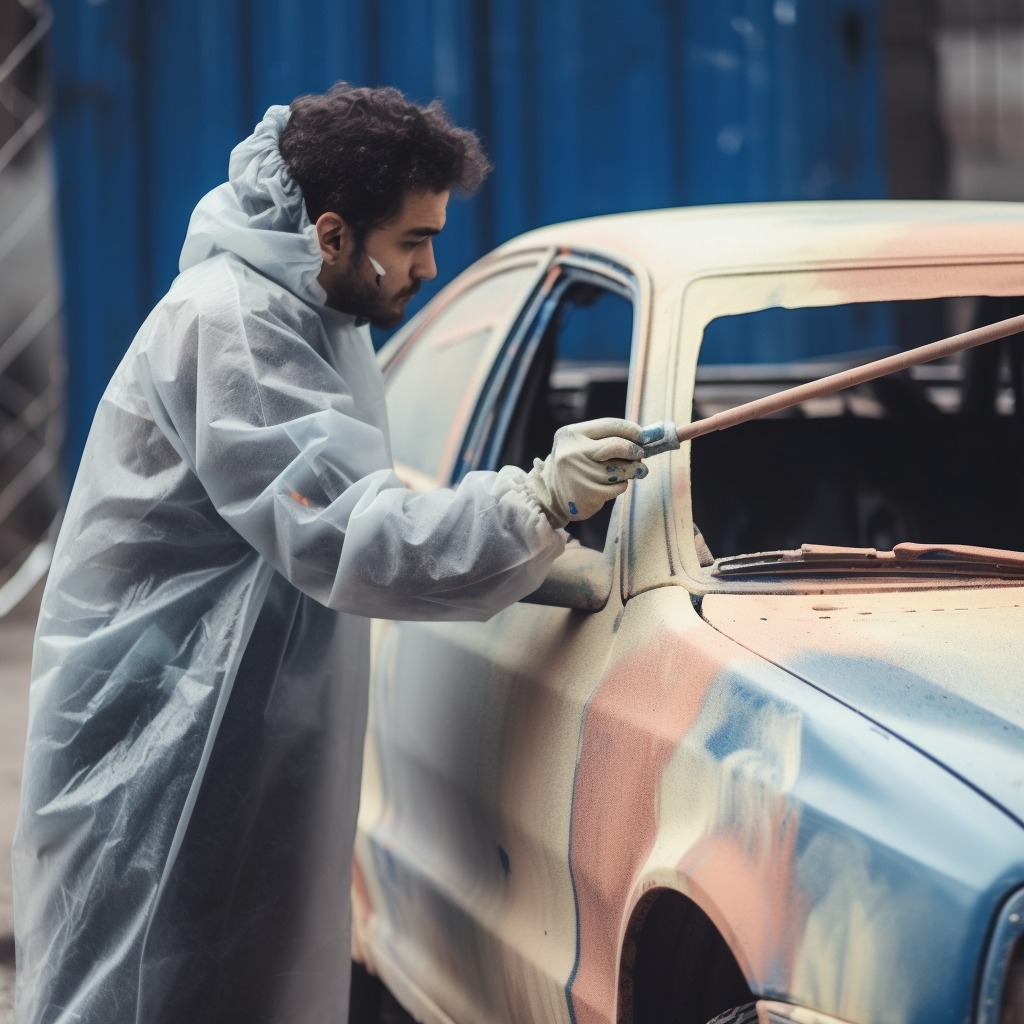
Painting a car at home outside can be a great way to save money and customize your vehicle. It can be a labor-intensive and time-consuming process, but if done properly, it can result in a beautiful and long-lasting finish.
Before you begin, it’s important to understand the tools and materials needed for the job. You will need an assortment of sandpaper, masking tape, a primer coat, car paint, and clear coat. You should also make sure you have the right safety gear, such as goggles and gloves, to protect yourself from any hazardous materials you may be using.
The first step in painting a car at home outside is to properly prepare the surface. Start by washing the car to remove any dirt or debris that could interfere with the paint job. Then, use sandpaper to sand down any chips, dents, or scratches in the car’s surface. Once the surface is completely smooth, use masking tape to cover any areas you wouldn’t want to get paint on, like windows and door handles.
Next, you’ll need to apply a primer coat to the car. This will help the paint adhere better and give the car a nice, even finish. Once the primer is dry, you can begin to apply the car paint. Start by spraying one section at a time, using thin coats and allowing them to dry before moving on to the next section. Once the entire car is painted, you’ll need to apply a clear coat to protect the paint job and give it a glossy, professional finish.
Painting a car at home outside can be a lengthy process, but if done properly, it can be a cost-effective way to customize and protect your car. Make sure you have the right safety gear and materials before you begin, and take your time when applying the primer, paint, and clear coat to ensure a beautiful, long-lasting finish.

